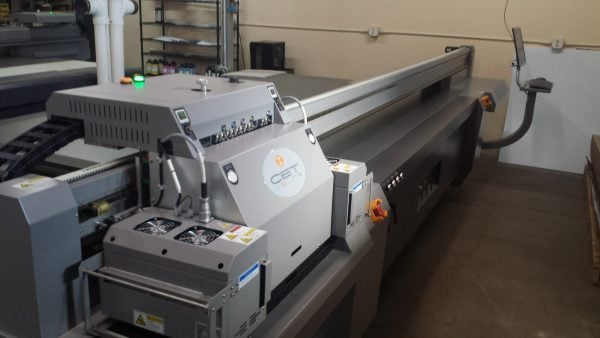
Learn how to prepare images for large-format printing on printers like this!
Cardboard Cutout Standees’ BigHeads and life-sized cutouts and standups are created by printing large digital images on media such as corrugated cardboard, foam core board, or Bubble-x plastic. One of the most frequent questions we get from our customers is how to prepare images for large format printing. Our large format printers can print high-resolution 5’ x 10’ prints. However, to print the best images, the printers need high-quality images from the start.
This guide will walk you through our top tips for preparing to print images in large formats or print sizes.
Resolution Guidelines For Preparing Images
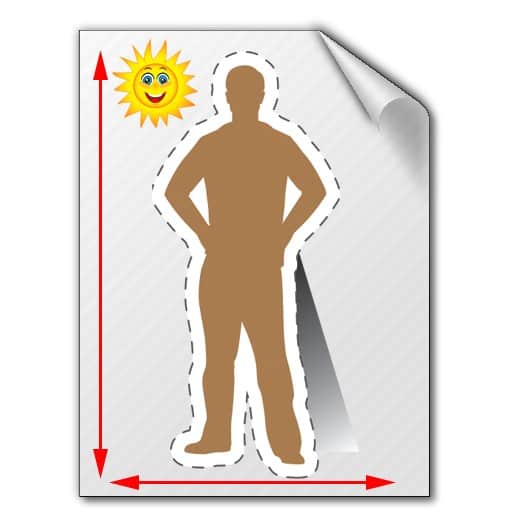
Image size is one of the most important things to keep in mind. Our most common Standee size is a 6’ life-sized custom cardboard cutout. For printing images at this size, we recommend an image size of at least 2200 pixels in height. With BigHead large format prints, the recommended image size is 1000 pixels in height.
To check the image size on an Android device, first open the image. You will then click the 3-dot menu icon and click “Info” to see the image size in pixels.
You can check the image size on a PC by right-clicking on the image and selecting “Properties,” and then viewing the “Details” tab.
On a Mac, right-click or control-click on an image and select “Get Info,” then click “More Info” on the pop-up. Unfortunately, there is no convenient way of seeing image size on iPad and iPhone. If the photo is from an iPhone 6 or newer, the image will be large enough for our products.
Capturing Images for the Best Large Format Printing Results
When taking pictures to create a life-size cutout, we recommend using a digital camera. Both DSLR cameras and point-and-shoot cameras give improved image quality over many phones. A digital camera has two key features over a smartphone: a larger image sensor and optical zoom. The larger sensor gives the digital camera the ability to gather more information.Optical zoom wins over digital zoom. It uses optical magnification to make your subject larger. With digital zoom, the camera uses information from a small area of the image sensor. It spreads these pixels apart, then fills in gaps with what it believes would have been in the open area. As a result, your final print is blurred when we print a digitally zoomed image.
Smartphone Settings for Large Format Printing
Even though a digital camera is preferred, you can get great results from a smartphone. There are some steps to ensure you capture suitable images for your large-format photo printing needs. Specifically, make sure your camera saves the captured images at the highest resolution possible. Higher resolution images will contain more pixels and will create smoother large prints.
If you are an iPhone user, you can check the done box. The iPhone captures all its images at the highest resolution possible. There are no resolution settings to adjust.
For Android users, you can adjust the photo resolution. With older versions of Android, you can open the camera app and select “Settings.” There are several different resolution settings to choose from. You will want to select the setting showing the largest size. On newer versions of Android, you can only select a photo format. 4:3 will give you the highest resolution.
Taking Large Format Print-Ready Photos
There are a couple of rules of thumb that we recommend when taking photos for large format printing. Most important is taking the photo with a vertical orientation. Next, fill the frame with the subject. Make sure to get the subject’s hands and legs in the photo. Our photo and graphic design team can edit hands and legs back in, but nothing beats the original!
Shoot your photos in vertical format!
Below is an example of the importance of orientation and filling the frame. These two images start as identically sized photos. One is in the horizontal or wide format and shot from a distance. The child only fills a part of the frame. The second is shot in the vertical orientation, and our little hiker fills the entire frame. After each photo below, we show a portion of the images printed at life-size. As you can see, the vertical image results in improved print resolution because we can use more pixels of the vertical image. Vertical format and filling the frame is the best way to prepare images for large scale printing.

Horizontal Format
“IMG_9273”by David J. Thomas is licensed under CC BY-NC 2.0
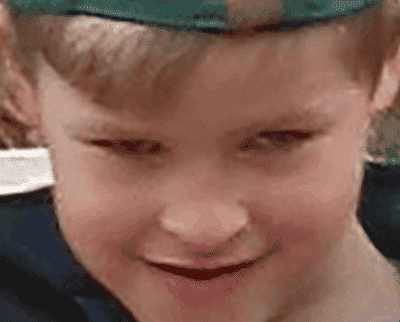
Horizontal Format with Subject Not in Frame Results in Low Resolution
“IMG_9273”by David J. Thomas is licensed under CC BY-NC 2.0
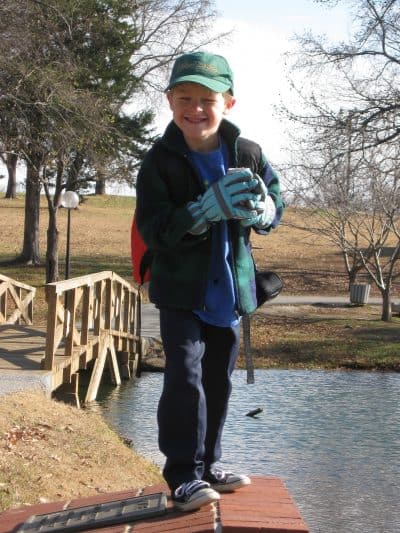
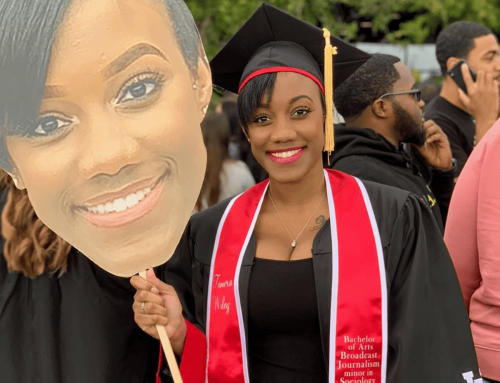
Vertical Format
“IMG_9298”by David J. Thomas is licensed under CC BY-NC 2.0
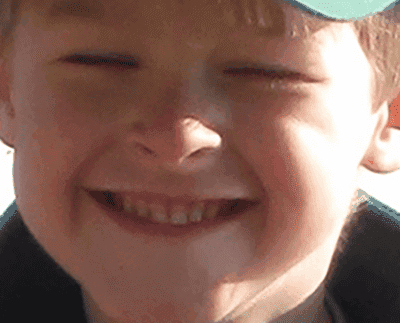
Vertical Format and Filling the Frame Results in Improved Resolution
“IMG_9298”by David J. Thomas is licensed under CC BY-NC 2.0
Perspective for Images for Large Format Printing
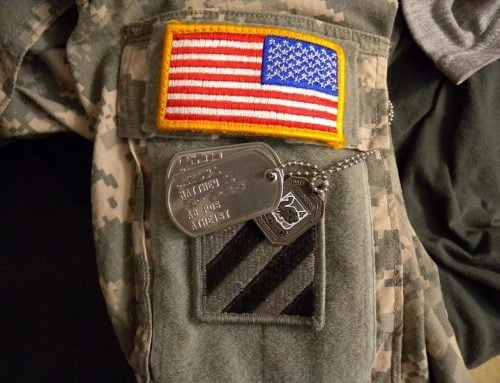
When taking photos to print standees, you will want to take them straight on. When taking photos from above your subject’s head, the head will appear larger than life. From below, their legs will stretch, and their torso will shrink. Both can make funny cutouts, but your friend may not be happy with a head 3 times larger than life!
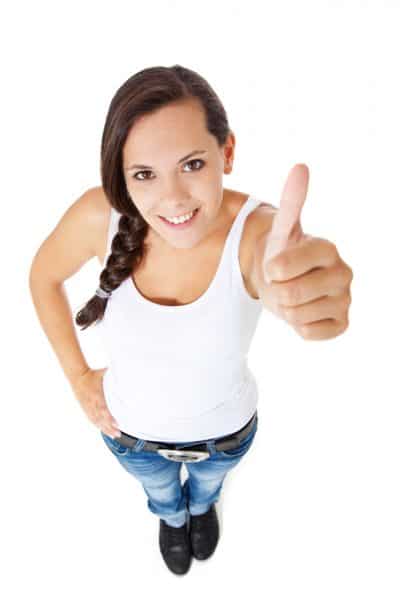
A picture shot from above will make your standee have a big head!
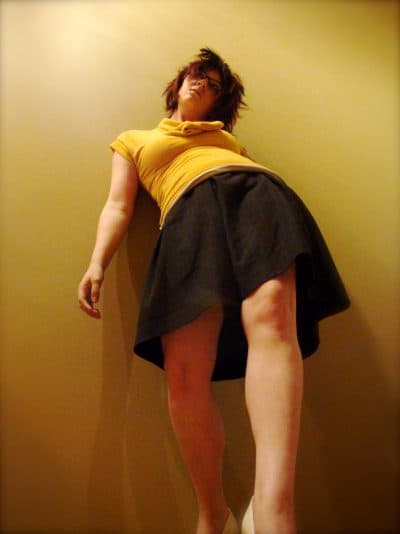
Shooting from below will give your standee long legs!
“95/365: Legs, Legs, Legs”by Christine & Eric Mahler is licensed under CC BY-NC-ND 2.0
Sharing and Sending Images
Our customers often use images they didn’t take themselves. Maybe you coach a youth baseball team, and all the parents send images to create BigHeads to cheer on the team. For high-quality large-format prints, follow the tips below to ensure that the method you use to send or receive your images does not reduce the image’s resolution.
Emailing Images
To allow for quick sending, many email programs reduce the file size of images when the images are attached. Make sure to select the option to send the “Original Image.” This is either in email settings or picked in a prompt when creating the email. Do not attach a screenshot of an image from your phone or computer screen. Even though you captured a high-resolution image, the screenshot reduces it to a lower resolution.
Texting Images
Don’t. Text always sends a reduced-sized image. Once sent via text, the resolution is lost. No matter what you saw on an episode of CSI, the resolution cannot be restored.
Social Media Images
Just like email reduces the size of images; all social media platforms reduce the image size to make pages load faster. Compare the following original image with the same image pulled from Cardboard Cutout Standees Instagram feed. No matter how good you are with Photoshop, Illustrator, or any other photo editing software, this resolution cannot be restored.
Original Resolution
Instagram Photo
Preparing Paper Photographs for Large Format Printing
Old photos are some of our favorites to see coming through the shop. Wedding day and anniversary photos make for great moments to capture on standees and BigHeads. Use these few steps to choose the best photo to enlarge on your cutout.
First, choose the largest photo possible for the highest quality print. Starting with an 8×10 photo will produce better results than a small 3” x 3” snapshot.
Then you will want to scan the photo at the highest resolution possible. Adjust your scanner to scan the correct image size and at least a 600 DPI or PPI. If you have a scanner, here are some great instructions for setting it up to achieve the best results.
If you don’t have a scanner, almost any office store or photo shop can scan your photo and save it for you. OfficeMax, FedEx, Staples, and similar stores all offer this service.
Taking a photo of a photo will not work! You will get blurry photos with bright spots. Please take the time to scan paper photos.
Image Formats for Upload
Cardboard Cutout Standees can accept almost any image file format for upload. Our site will only generate a preview image for .jpeg, .jpg, .tiff, and .png images. You will get an acknowledgment of your upload when using other formats like .psd, .ai, or .pdf. However, the system cannot show you a preview.
Contact our customer service if you have a file type that is not supported. Email a team member at [email protected]. Please get in touch with us if you have an image with a file size greater than 15 megabytes. We have a couple of alternate methods for handling files we don’t support on our website and large image uploads. Our team is more than happy to assist you with your upload.
And That’s How to Prepare Images for Large Format Printing!
Use these tips to get the best results when printing a life-size picture so you canl design sharp, free-standing life-size cutouts and BigHeads for your next event! We are here to help you create the best large-format prints from your images.